2. Next, you will either have to create an execution role for the Lambda function or give it an existing one. This will be important later. But for now, do the one you prefer. Click Create function to create your new blank canvas.
The reason we are using the AWS environment for the microservices to manipulate EC2 instances (other than the obvious reasons) is that the runtime that they provide comes with the boto3 library by default, which is very useful for resource interaction.
3. Before we can start or stop any instance, we need to list them out. You have to load and dump the return function once to handle the datetime data type. For now, let’s just initialize the boto3 client for EC2 and try and list all of the instances that are currently available:
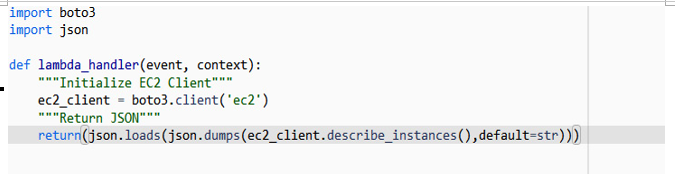
Figure 2.4 – Initial code to describe instances
Running this with a test will get you an exception thrown similar to this:

Figure 2.5 – Authorization exception
That is because the Lambda function also has an identity and access management (IAM) role, and that role does not have the required permissions to describe the instances. So, let’s set the permissions that we may need.
4. As shown in the following figure, under Configuration | Permissions, you will find the role assigned to the Lambda function:
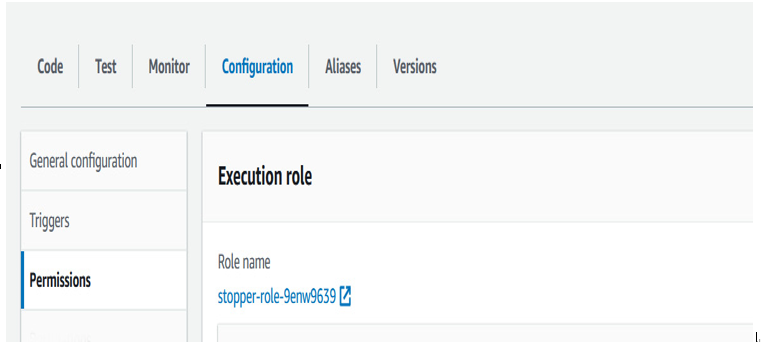
Figure 2.6 – Finding the role for permissions
5. On the page for the role, go to Add permissions and then Attach policies:
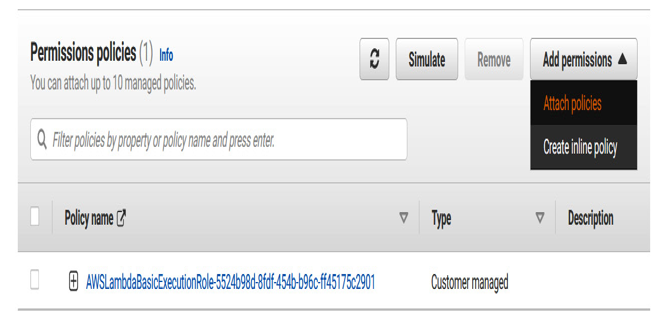
Figure 2.7 – Attaching a permission
Let’s give the Lambda function full access to the EC2 services since we will need it to stop the instance as well. If you prefer or if you feel that’s too much access, you can make a custom role:

Figure 2.8 – Attaching the appropriate permission
6. Let’s run this again and see the results:
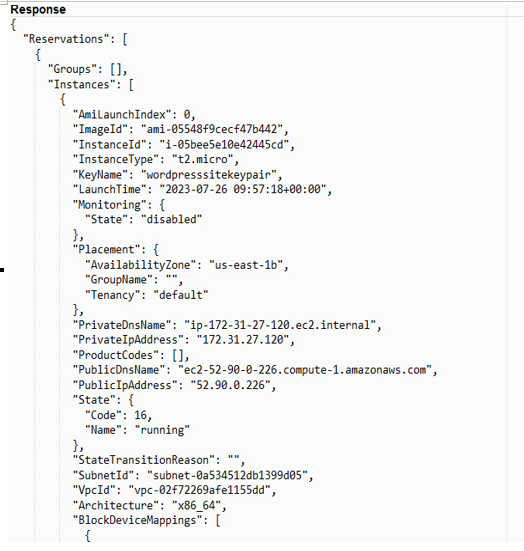
Figure 2.9 – Successful code run
You’ll see the display of instances as well as information regarding whether they are running or not.
7. Now, let’s get to the part where we shut down the running instances. Add code to filter among the instances for ones that are running and get a list of their IDs, which we will use to reference the instances we want to stop:
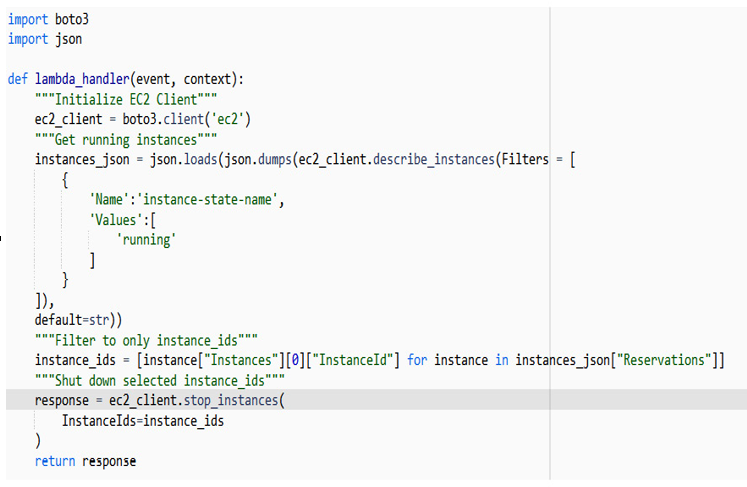
Figure 2.10 – Adding code that stops the instances
Simple enough to understand, especially if we are following the principle of readability and explicitness.
The instances are now in a state where they are shutting down. And soon, they will be stopped:

Figure 2.11 – Shut down instances
8. Now that we have done it once, let’s automate it further by using a service called EventBridge, which can trigger that function every day. Navigate to Amazon EventBridge and make an EventBridge schedule:
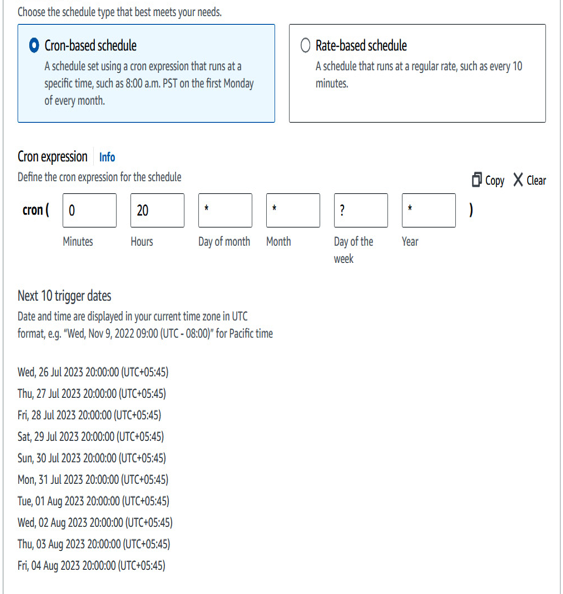
Figure 2.12 – Setting up a cron job on EventBridge
9. Select our Lambda function as the event target:
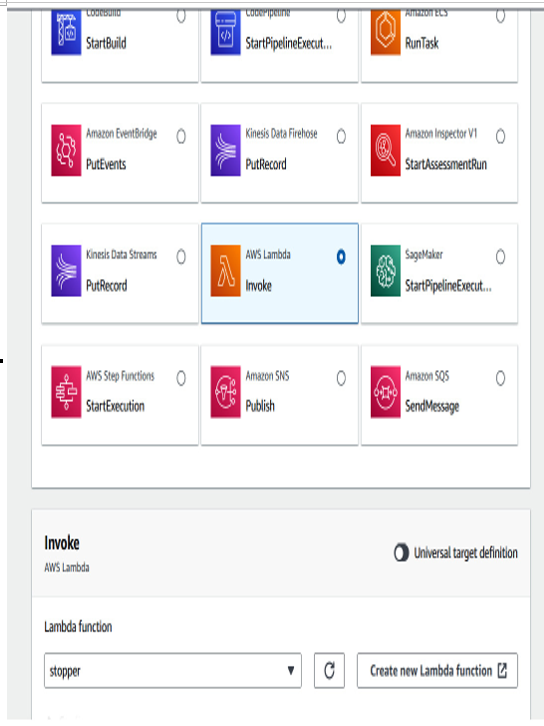
Figure 2.13 – Selecting Lambda to invoke for EventBridge
You can now create the EventBridge scheduled event, which will trigger at 8 P.M. every day and list and shut down your EC2 instances.
So, in following these steps, you now have the tools necessary to schedule the shutdown of instances based on the timed schedule that you want.