Associate your web app with Application Insights
Now that your Application Insights has been set up, you will need to link it to your application:
- Navigate to the web app you created earlier.
- Click on Application Insights under the Settings context.
- Because the application is deployed in Azure, you can easily activate Application Insights for your web app with a few clicks. Click on Turn on Application Insights:

Figure 20.44 – Turn on Application Insights
- Select Enable:
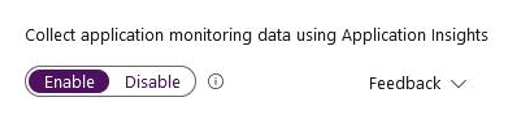
Figure 20.45 – Enable Application Insights
- Then, click Select existing resource, select az104monitorappinsights, and click Apply:
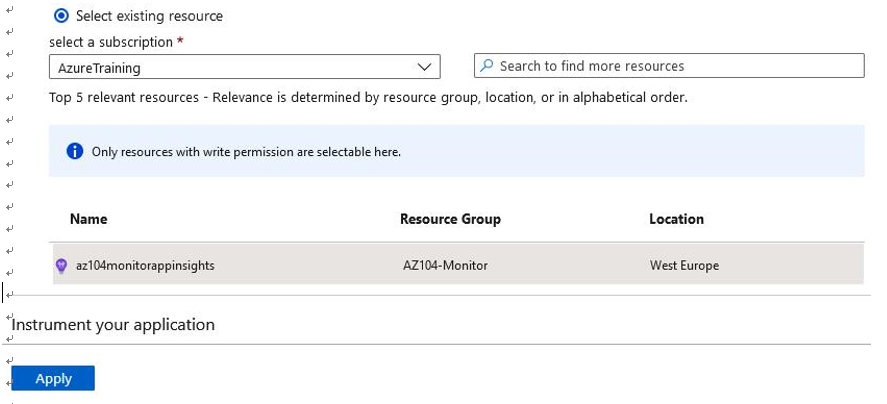
Figure 20.46 – Associating an application with Application Insights
- A prompt will appear, notifying you that your application will be restarted as an effect of applying the change. Click Yes:
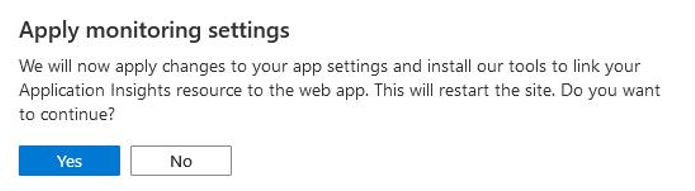
Figure 20.47 – Applying monitoring settings
You have now enabled Application Insights for your web app. Some applications do not support the automated integration method and will require a manual configuration of your code for Application Insights. You should now feel comfortable in deploying this service and enabling it for your Azure app services.
Summary
In this chapter, we have covered Azure Monitor. We have explored the various features of this service offering as well as investigated the configuration of some of the components. You have learned how to use metrics to monitor your Azure resources and alerts in order to get notified when certain things are happening with your Azure resources. We also used Azure Log Analytics and created queries so that we can get valuable data from the logs. You should now feel confident building and monitoring resources in Azure along with configuring alert notifications based on events that occur within your environment.
In the next chapter, we will cover backup and recovery. We will explore what services are offered within Azure and how to configure these to become confident in managing backup and recovery from within Azure.